Non-standard spring calculation
One of the most powerful features of Spring Calculator Professional is the ability to model and design springs of any shape and size, as long as they are wound axially, using what we call the "non-standard compression spring" type. Using this you can specify how any of these parameters vary along the length of the spring:
- Wire diameter
- Outside diameter
- Pitch
Changes to the non-standard spring type in SCP v2
Although it still works on the same principle of defining the above parameters at various coil positions, the user interface has been completely redesigned so that you can see all the inputs at once. There's a new Visual Editor where you can drag with a mouse to alter the shape of the spring, and see how its performance changes in real time. And the drawing and animation are even more powerful than before, allowing you to see the inactive parts of the spring and the stress hot-spots at a glance.
Designing a simple spring
Let's jump straight in and create a standard compression spring. The first thing you might notice is that the Required Data section is simpler than for other spring types. You can't define closed and ground ends directly, for example:
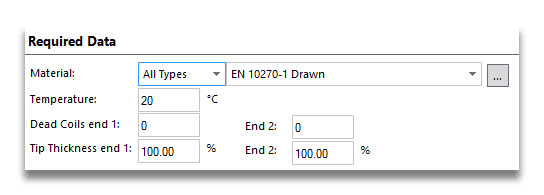
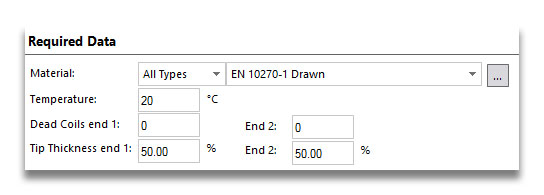
In order to get our closed and ground ends, we have to define the pitch manually. But we also need to set the tip thickness to 50%. Leave the dead coils boxes as they are - these aren't used in the same way as for standard springs. We'll define the dead coils by making the end tip touch the next coil; these entries are meant for springs where the first coil would be active, but is constrained in some other way - for example in a tapered seat. So all we'll change here is the tip thickness values:
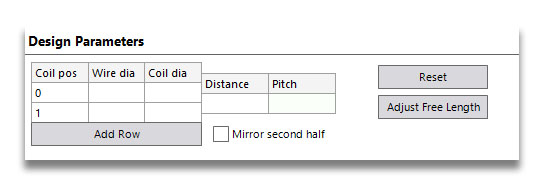
Let's move on to the Design Parameters section. To start with, it looks like this. You can see that there are columns to enter wire diameter and outside diameter at various coil positions, and to define pitch between coil positions (which can be entered as pitch per coil, or axial distance between two points).
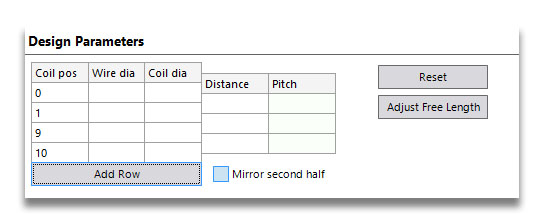
We're going to need four coil positions, to define either side of each end coil. So click on Add Row. This always adds a new entry with a coil position 1 further on than the last entry, so in this case a value of 2. We're going to design a spring with 10 total coils, so change the 2 to a 9, and click Add Row again. Your table should now look like this:
Now we'll define the wire diameter and the outside diameter. Enter values of 5 and 40. We only need to put these in the top row, because the software assumes these don't change unless you put in another value.
To set up the closed ends, we need a pitch equal to the wire diameter at each end. We'll put that in the Distance column. Enter a value of 12 for the pitch in the centre section, and the spring looks like this:
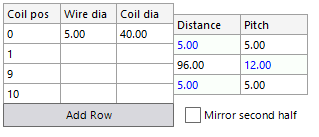
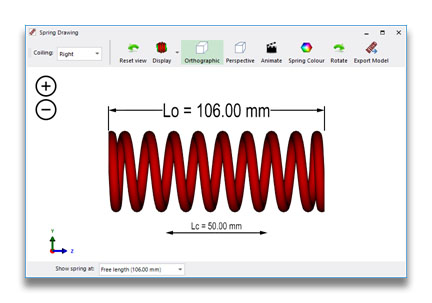
That's it! Our spring has been designed. It took a few more steps than using the standard compression spring software, but we're just getting started!
Making a dual rate spring
A dual rate spring needs to have two sections of active coils at different pitch. Rather than start again and enter all the values from scratch, we'll just split up the middle part of our spring. Right-click on the row with coil position 9 in it, and select Insert Row Above. The software puts in a new row with a coil number halfway in between, and keeping the same pitch before and after the split.
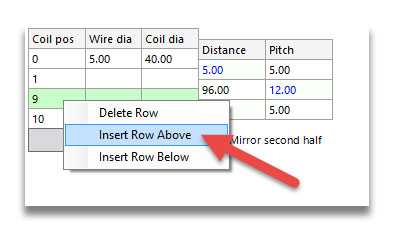
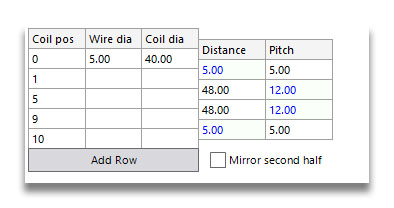
Now if we change the pitch values for one of the sections, we'll get our dual rate spring. Edit the first 12 to say 7. This gives the spring below. You can quite clearly see the two pitches on the spring drawing, and the change in the load/length graph at a length of 70 mm where the rate increases.
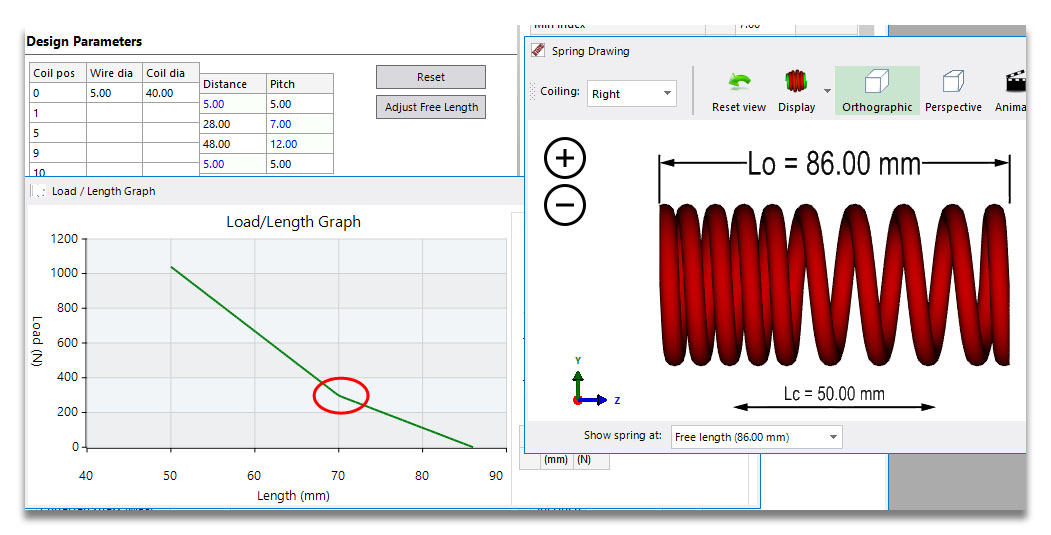
Let's make the change in pitch a little more dramatic. If we change the middle coil position from 5 to 7, we move coils from the higher to lower pitch section. Before we did this, the spring had 8 active coils before the rate transition, and 4 after, so the rate doubled. With this new design, we change from 8 to 2 active coils. You can immediately see a much sharper change in gradient and therefore rate.

So far we've been entering numbers to design our spring, which is fine if you have a drawing already, but not if you need to hit certain outputs. Let's go on to use the Visual Editor.